12.04.2013

3D digitizing systems based on the principle of fringe projection play an important role in industrial metrology. However, conventional fringe projection systems meet their limits when it comes to scanning reflective or transparent surfaces. In these cases, the measuring object can only be digitized by preparing the surface, for example with a spray.
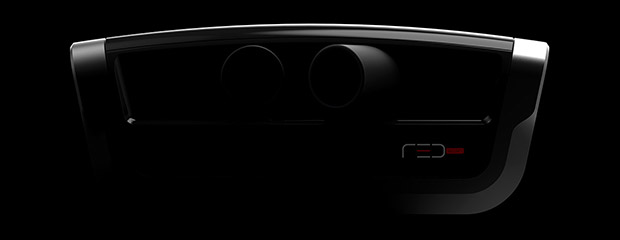
To overcome this problem, the German company AiMESS has developed a fringe projection system that makes surface preparation needless. This high-tech system called R3Dscan is going to celebrate its world premiere at the Control show 2013 in Stuttgart.
In contrast to all other fringe projection systems, the R3Dscan does not analyze an object’s reflection. Instead, it makes use of an infrared detector for tracing the energy that is absorbed by the measurement object and converted into heat. As the nature of the surface finish does not affect this patented infrared measurement method, the R3Dscan allows for instant scanning of reflective, dark or transparent surfaces.
Not only spraying is avoided when applying the R3Dscan. The time-consuming procedure of placing markers on the measurement object is not necessary either. Thanks to a highly precise way of positioning, the single views of a measuring object are automatically matched to a complete data set. Furthermore, the R3Dscan is insensitive to ambient light. No matter how light conditions may be, the system will always deliver accurate measuring results.
As the system allows for measurements without prior spraying, the infrared scanner opens completely new application areas in manufacturing. As an example, it is possible to use the system in-line for measuring objects in step with the production cycle. Moreover, the R3Dscan is perfectly suitable for all applications in which neat cleaning of the measuring object cannot be guaranteed after spraying.
The complete system has a weight of approx. 25 kg and works with a 220 V power supply. One shot covers a measuring volume of 250x250x100 mm³. Larger scans can be realized by relocating the scanner or the object to be measured. Furthermore, thanks to the modular configuration of the system, it is possible to connect several projectors to one single computer. Thus, no matter how large the measuring object may be, it only takes one shot to acquire the whole part. The result “OK” vs. “not OK” is computed within seconds.
The first public presentation of the R3Dcan will take place at the Control show (May 14–17 2013). The system will be showcased on the AiMESS booth (hall 7, booth 7203).
Not only can you acquire the R3Dscan from our subsidiary AiMESS Products. Of course, you can also make use of our measurement services to get your objects digitized. With the R3Dscan, we are in the position to scan any component made of glas, carbon fiber reinforced plastic or glass fiber reinforced plastic as well as painted parts. Surface preparation is not necessary. Our prototype which premieres at Control is from now on ready for test measurements. Interested? Please contact us!
Do you have any questions about our products and services?

Tel.: +49 (0) 3921 63 639 - 0
Mail: info@aimess.de